DJ Event Audio Checklist: Pre-Gig Prep That Prevents Disasters
The complete DJ audio checklist for event preparation. Learn how to unify track loudness, verify file formats, back up your USB drives, and catch common technical issues before you hit the booth.
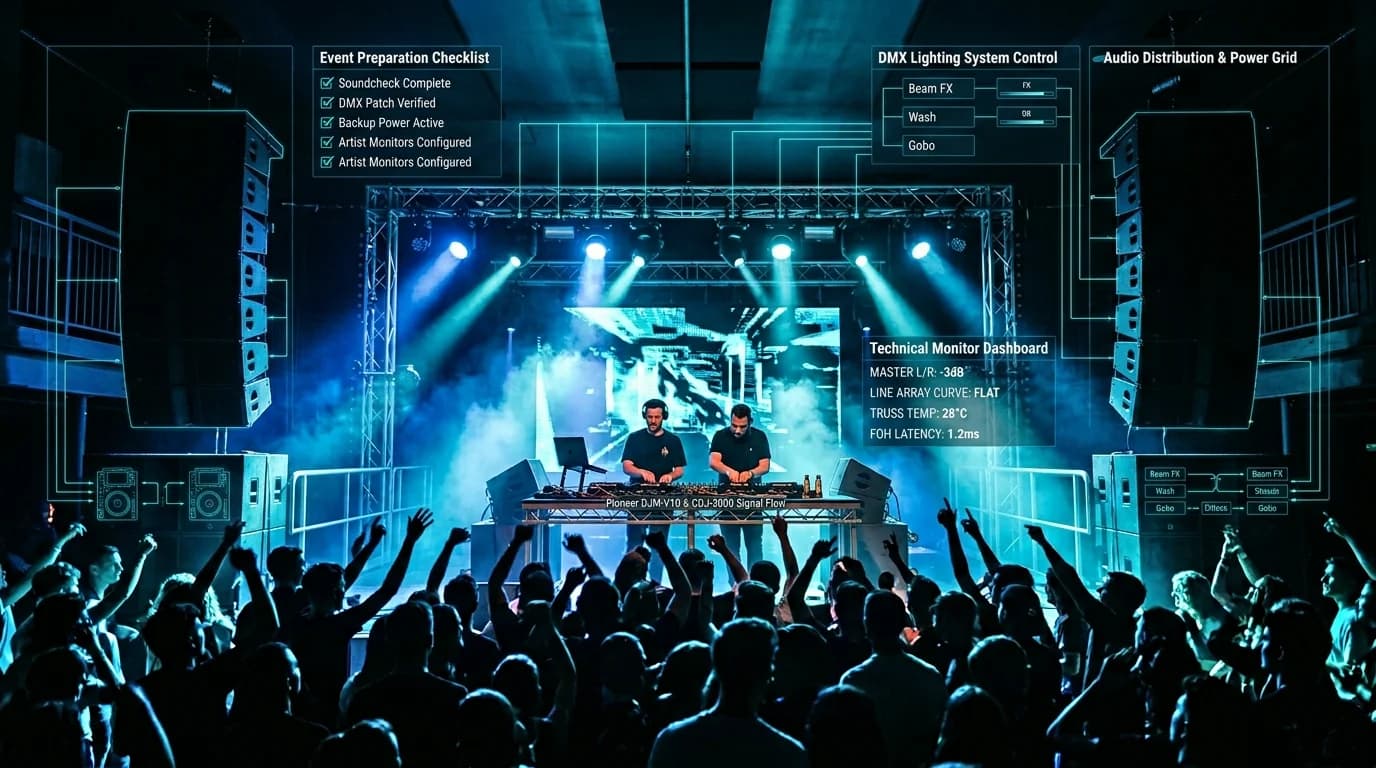
Have You Ever Panicked in the Booth?#
You step up to the decks, load your first track, and immediately something goes wrong. Every DJ has been there at least once.
- The volume jumps wildly when you transition from the previous DJ's set
- The CDJ refuses to read your file format
- Your USB stick won't mount
- A track cuts out mid-song because the file is corrupted
Preparation helps catch common issues, although it cannot prevent every failure. This guide walks you through a priority-ordered audio checklist for checking your set and planning backups.
Checklist Overview#
- Compare track levels and transitions.
- Verify formats and USB compatibility.
- Check file integrity.
- Organize metadata.
- Prepare backups.
1. Compare Levels#
- Preview loud and quiet passages at matched monitoring levels.
- Check peaks and leave headroom for gain and EQ changes.
- Rehearse overlapping tracks and crossfades.
- Agree output levels with the venue engineer.
There is no universal club LUFS target. DeckReady diagnoses individual files and explains possible issues; it does not batch-normalize or repair a set. Auto-gain is also a starting point that needs listening checks.
2. Verify Formats#
- Confirm the exact player model and firmware.
- Check codec, bit depth, sample rate, and USB file system against its manual.
- Test the exported USB on the actual equipment.
The CDJ-2000NXS2 official specification includes FLAC/ALAC and lists FAT, FAT32, and HFS+ for USB storage. Do not assume exFAT support from another model. FAT32 has a per-file limit of roughly 4 GB.
3. File Integrity#
What to Check#
- Every file plays through to the end without errors
- No special characters in file names (emojis, non-Latin characters)
- File paths stay under 255 characters
- No partially downloaded files in your library
Verification Methods#
Ideally you'd preview every track, but that's impractical with 50+ songs. At minimum:
- Run waveform analysis in your DJ software: Files that throw analysis errors may be corrupted
- Check file sizes: A track that's the same length but significantly smaller than similar files is suspicious 3. Preview the last 30 seconds: Incomplete downloads usually cut off at the end
4. Metadata Organization#
What to Check#
- Artist names are correctly entered
- Track titles include remix and version info
- BPM data is accurate (verify against DJ software analysis)
- Key information is populated
- Genre tags are assigned
Why Metadata Matters#
Metadata directly impacts how fast you can find tracks during a live set. When you're mid-performance and need "that song," proper metadata lets you search by artist, BPM, or key instantly.
If you use rekordbox MyTags or Serato Smart Crates, metadata accuracy becomes even more critical.
5. Backup Strategy#
What to Check#
- At least two USB drives prepared
- Both USB and laptop contain identical data
- Cloud backup exists (Wi-Fi permitting)
- USB drives are physically sound (no connector wear, no recognition issues)
- Backup files match the latest version
Ideal Backup Setup#
- Primary USB: Optimized playlists for the event
- Secondary USB: Exact copy of the primary
- Laptop: DJ software imported and ready (emergency fallback)
- Cloud: Original files stored in Dropbox/Google Drive
Pre-Event Timeline#
Trying to complete all checks on event day is reckless. Follow this timeline instead.
Three Days Before#
- Finalize your setlist
- Purchase and download any missing tracks 3. Verify formats and bit rates for all tracks
Day Before#
- Compare levels; diagnose files with concerns in DeckReady.
- Analyse waveforms in the DJ software and preview the files.
- Check BPM, keys, transitions, and cue points.
- Export to two USB drives and verify both.
- Save an independent backup.
Day Of#
- Arrive early and check USB recognition on the venue's equipment.
- Preview tracks and agree output levels with the engineer.
Commonly Overlooked Details#
Crossfade Testing#
Even with normalized loudness, certain track combinations can cause clipping during crossfades — particularly when two kick-heavy tracks overlap. Always check your planned mix points in advance.
Venue Sound System#
The same track will sound dramatically different on different PA systems. If possible, listen to a few tracks through the actual system during soundcheck.
Volume Matching with Adjacent DJs#
Your set doesn't exist in isolation. Consider the volume levels of the DJs playing before and after you. Listen to the previous DJ's final track and compare output meters and monitoring levels.
Troubleshooting at the Venue#
No amount of preparation guarantees a trouble-free set. Here's how to handle common issues calmly.
USB Not Recognized#
- Unplug and replug the USB (no need to power-cycle the CDJ)
- Try the other USB slot (if available on that model) 3. Switch to your backup USB (this is why backups are essential) 4. Last resort: Connect your laptop directly via HID/Link Export mode
A Specific Track Won't Play#
- Skip it and move to the next track (never kill the floor's energy)
- Check the file for corruption after your set 3. Add full playback testing to your future checklist
Clipping or Distortion#
- Check the master output level (are you hitting the red?)
- Reduce channel gain 3. Shorten your blend time when layering two tracks
Lowering gain cannot repair distortion already in the file. Check the original source or consider a replacement.
Summary#
Keep the useful checks together: listening, player compatibility, file integrity, metadata, and backups. Preparation reduces uncertainty without guaranteeing a flawless event.
Use the pre-gig guide for the full sequence. If a specific file concerns you, check it locally and read the reasons before deciding what to change.
Turn this guide into a practical next step
Level measurements and source-quality estimates answer different questions. Check the source and listen before buying another copy or deleting a file.
Open the pre-gig checklist →Get DJ mastering tips
Weekly tips for music production.
Related Articles
How to Fix SoundCloud Audio Quality for Club-Ready DJ Sets
SoundCloud's 128kbps downloads sound weak on club systems. Learn how to optimize low-bitrate audio for professional DJ use with DeckReady's batch processing workflow.
Stop Playing Raw YouTube Rips at Gigs: Fix Audio Quality for Free
YouTube and SoundCloud downloads sound terrible on club systems. Learn how to fix loudness, bass, and high-frequency issues in seconds using browser-based mastering with DeckReady.
How to A/B Compare Audio Like a Pro — Train Your Ears
Learn the correct way to A/B compare audio before and after processing. Eliminate loudness bias, use blind testing, and focus on the right frequency bands to make better mixing and mastering decisions.
Apple Music vs Spotify Sound Quality — Complete Comparison 2026
Apple Music vs Spotify audio quality compared in detail. Codecs (AAC vs Ogg Vorbis), lossless streaming, loudness normalization differences, and how to master your tracks for both platforms.